How to draw a simple trinity Celtic knot in 10 steps – Level I difficulty
How to draw a simple trinity Celtic knot – circle method – Level I difficulty
What you will need
A pencil
Paper to draw on
Colored pencils
Starting our drawing
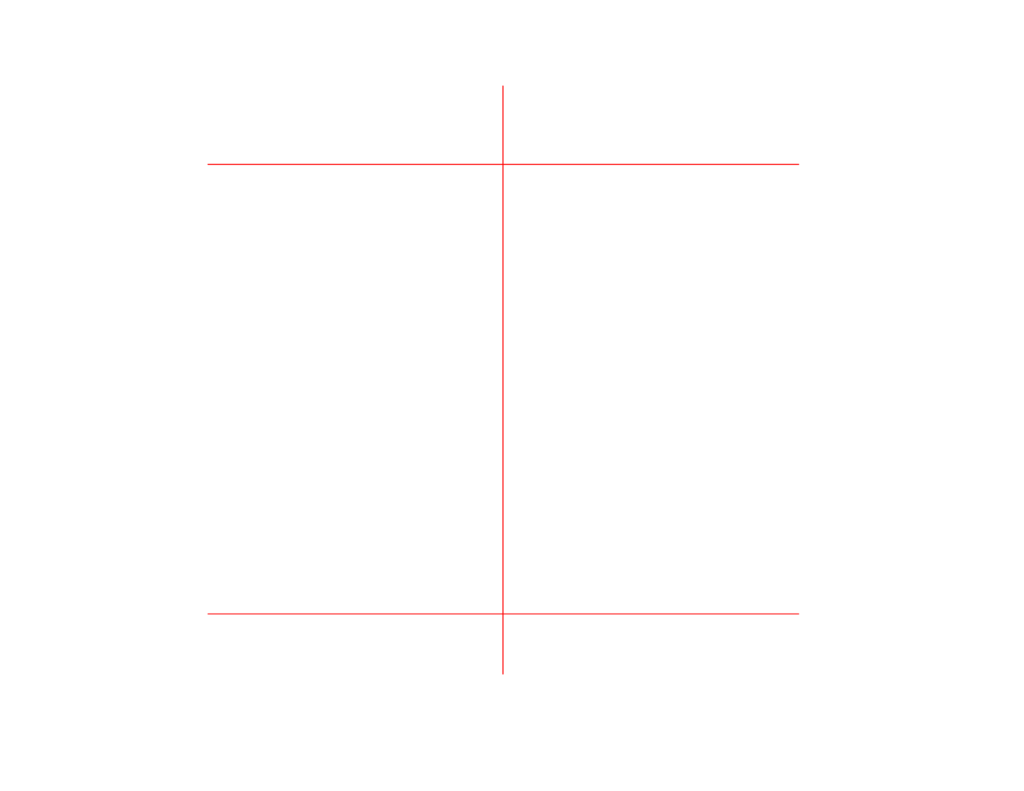
- Step 1 is to draw ourselves some construction lines. Draw two parallel horizontal lines and one dividing vertical line on your paper. These will help to draw our knot correctly. We will remove these lines later.

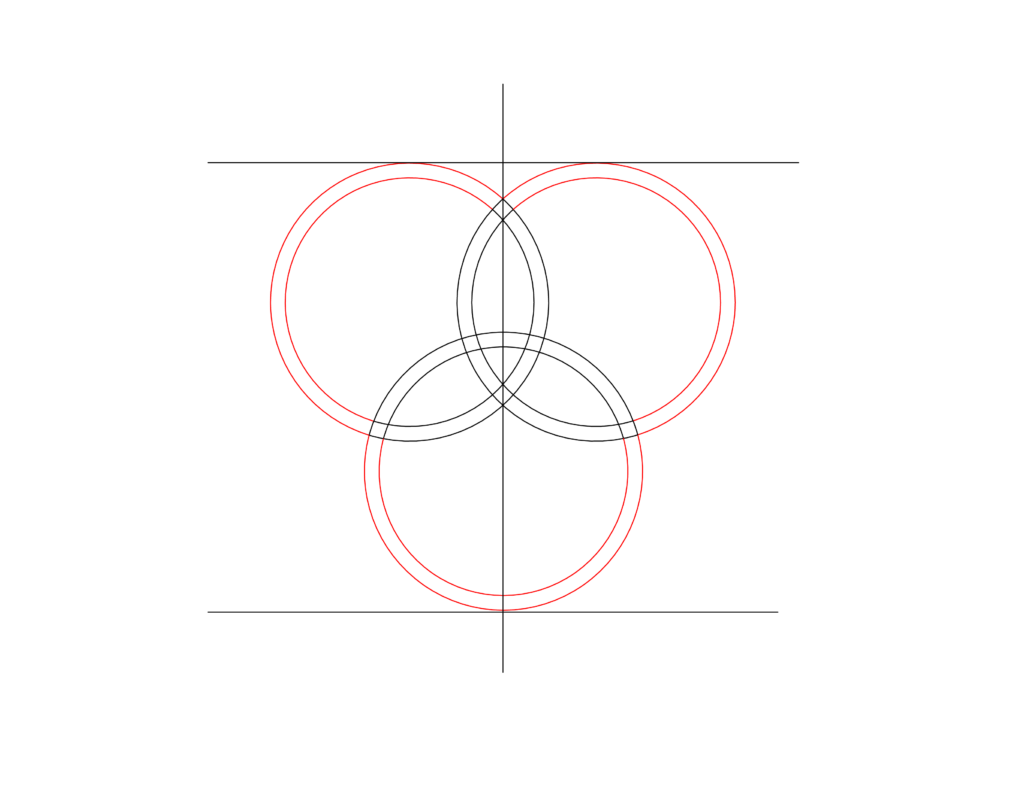
- Draw your first circle. Show it just touching the top guideline at the top of the circle. We want the right side of the circle overlapping the vertical guideline.

- Next, repeat the last step on the other side of the vertical guideline. The two circles should intersect twice at the vertical guideline.

- The next step is to draw another, slightly smaller circle inside the first circle you drew. Don’t worry about overlapping lines. We will be removing any unnecessary lines later.

- Repeat the last step on the other side. As before, draw a slightly smaller circle inside the right circle.

- Draw one more double circle on the bottom. The outside ring should touch the bottom horizontal guideline. The new circles will overlap in several different places.

- Now we will start removing unnecessary lines. The lines we will remove first will be in red on our drawing. We are removing all the lines that are outside where they intersect.

- Now we can remove our guidelines. We will not need them anymore.

- The last step is to edit our drawing so that our knot appears to look like one continuous line. Remove the lines we are showing in red on our drawing. We will not need the lines in the corners of our knot. We will also not need some of the lines where they intersect. Careful not to remove too many lines.

- We are now done! Look through our website for other tutorials!

Are you interested in more drawing tutorials? Click any of the links below.

 Previous Post
 Next Post