How to draw Pokémon Munna in 10 steps
How to draw Pokémon Munna in 10 steps
What you will need
A pencil
Paper to draw on
Colored pencils
Starting our drawing
Step 1
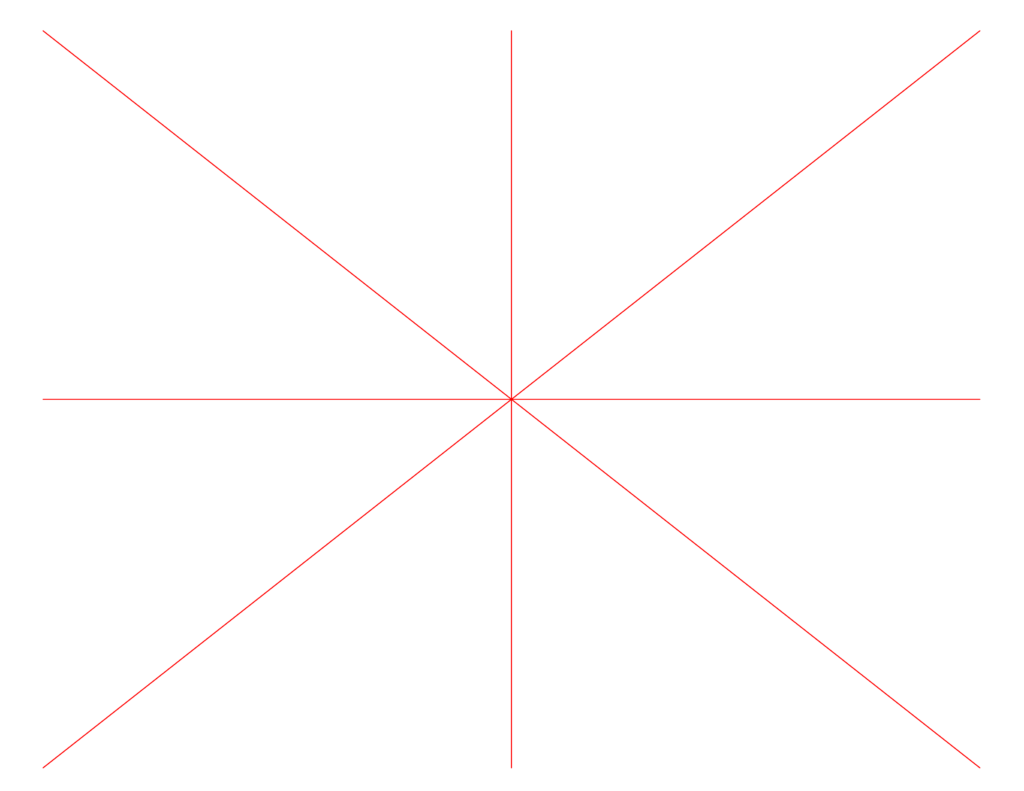
First thing first, draw four construction guidelines. One down the center of the page, one horizontal across the middle and two diagonal lines. We will be erasing these lines later so don’t make them too dark. These lines will help us to draw our Munna accurately.
Step 2
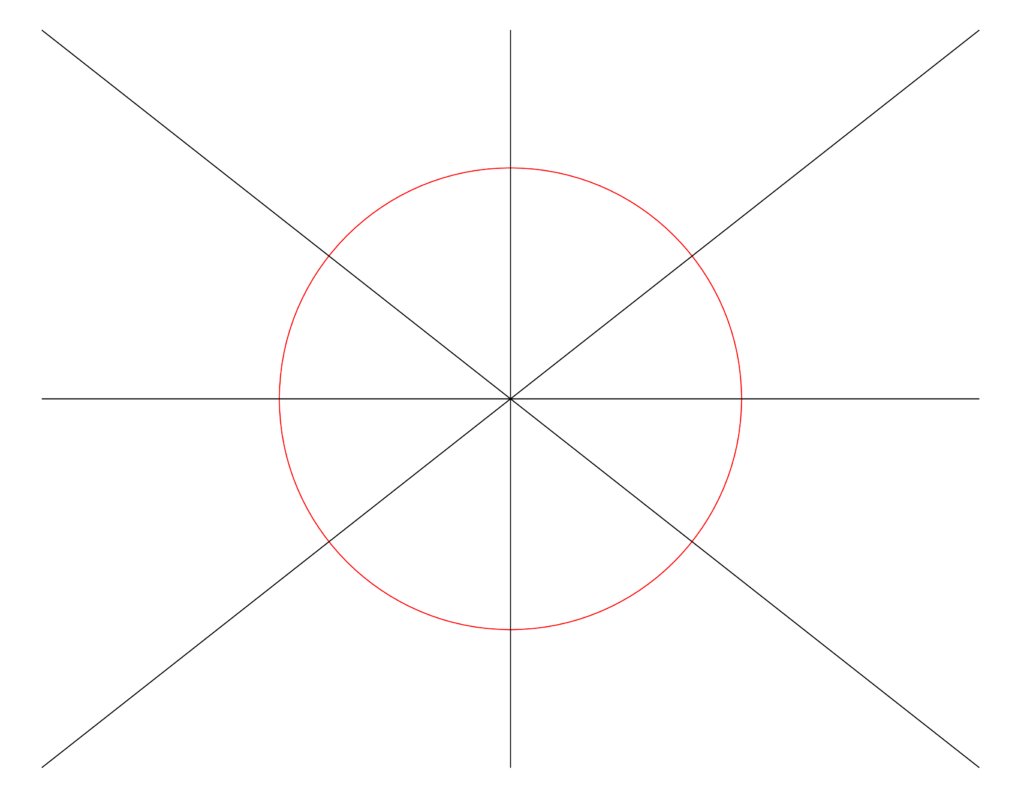
Next, let’s just start on the body of Munna. The body is a spherical shape. Place the center of the circle where all the guidelines meet.
Step 3
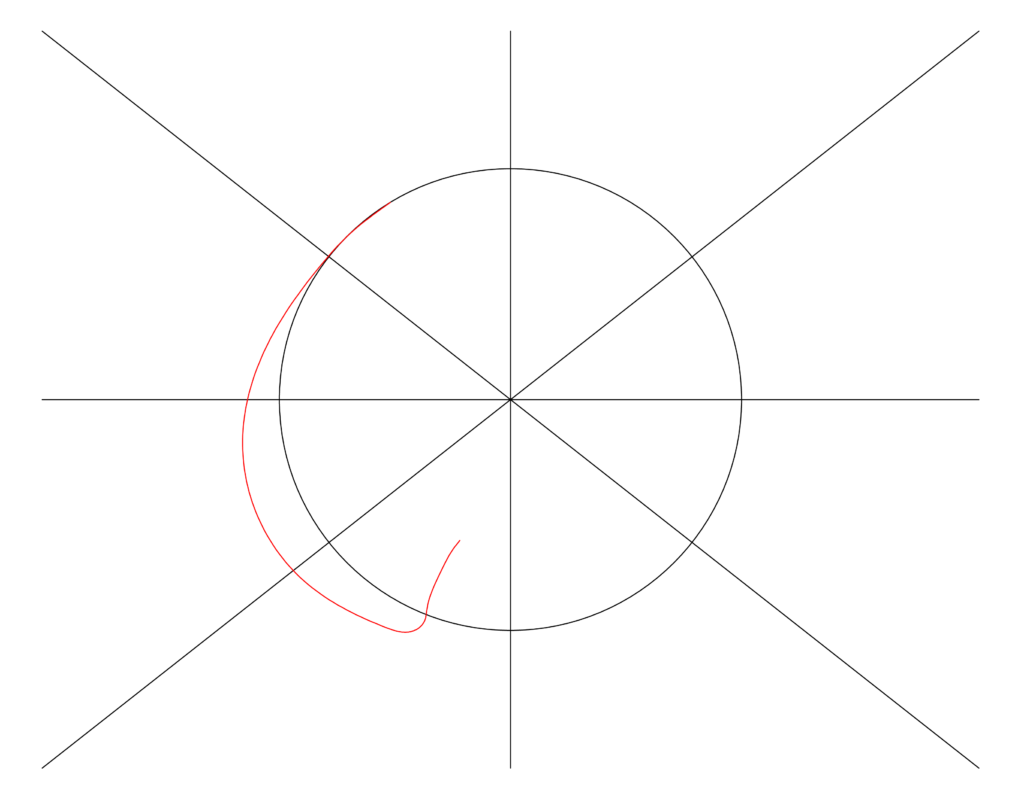
Now we will add in Munna’s face shape. We are adding onto the front of the circle and showing the dip for the mouth. Use the guidelines for placement.
Step 4
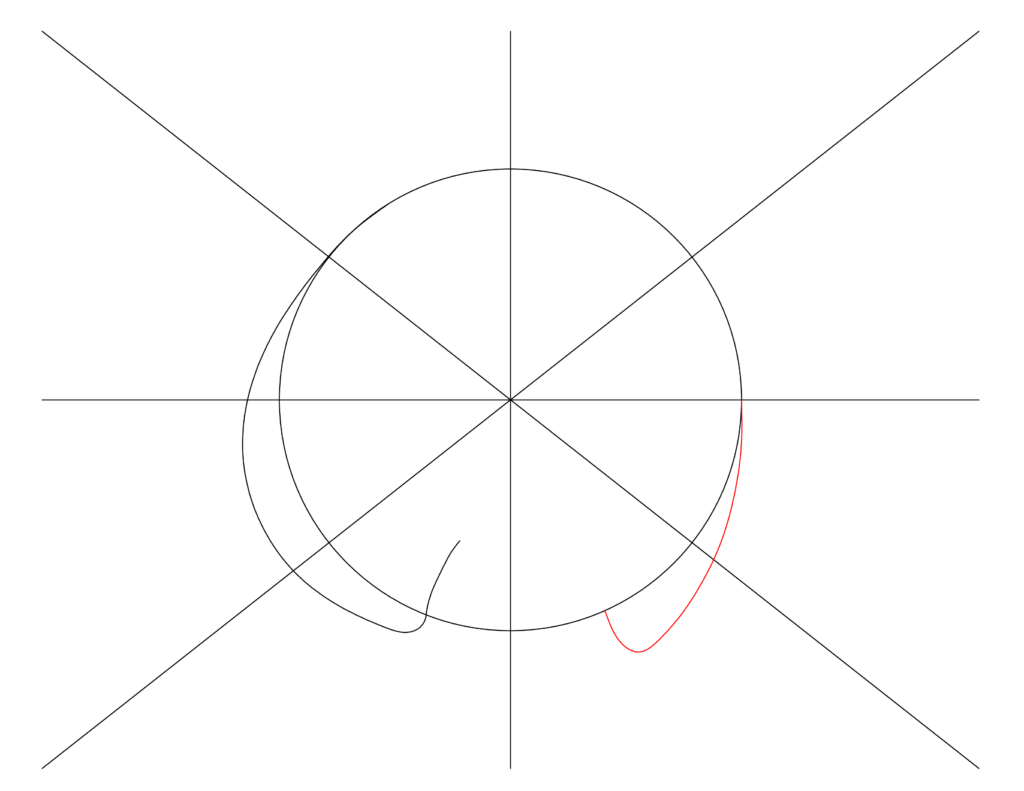
Our next step will be to draw the back leg. We are lengthening the bottom right corner of the circle and showing a curve up to show the leg.
Step 5
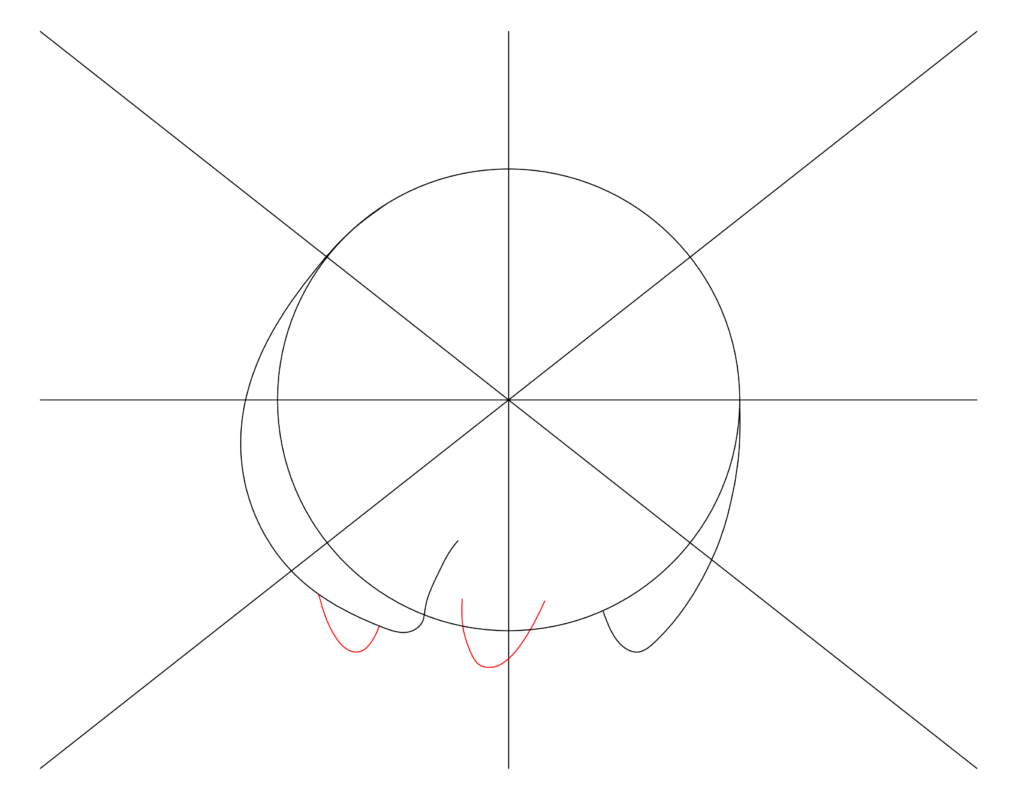
Front feet are next! Show two U shapes under the bottom of the body for legs. One should be close to the center of the drawing. The other under the mouth.
Step 6
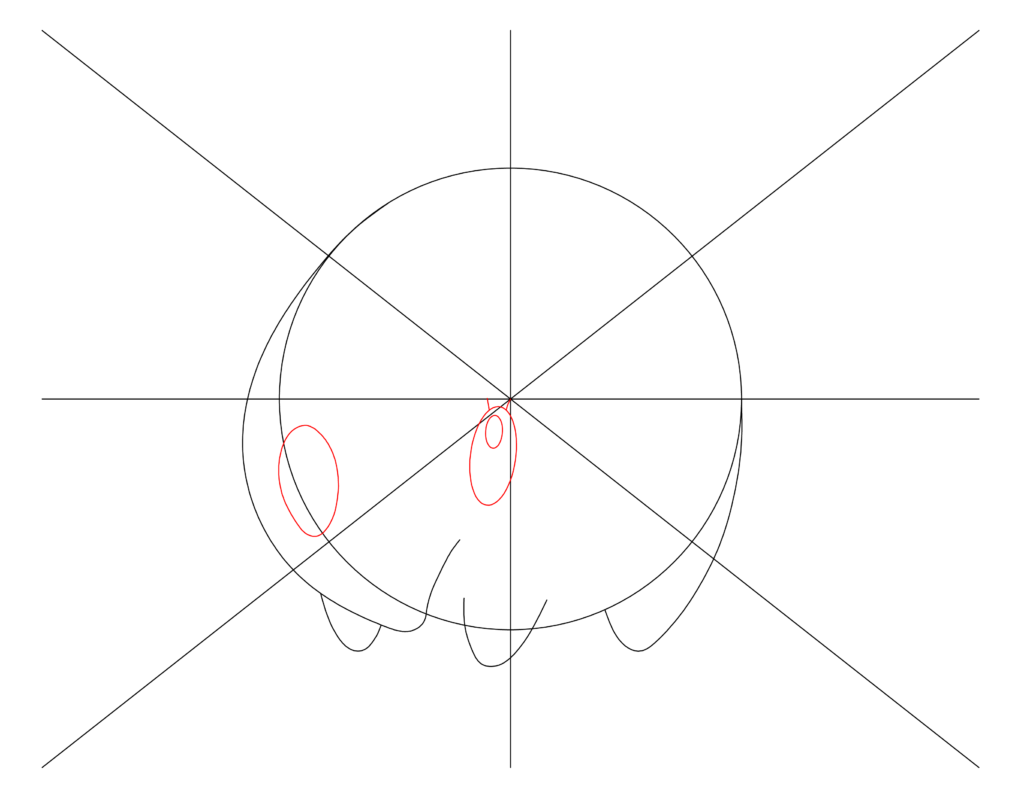
We will continue by adding the eye and the dream mist oval in the middle of the face. For the eye, show two ovals. One inside the other. Don’t forget the two eyelashes above the eye. The dream mist shape is just an oval. Use our drawing for reference.
Step 7
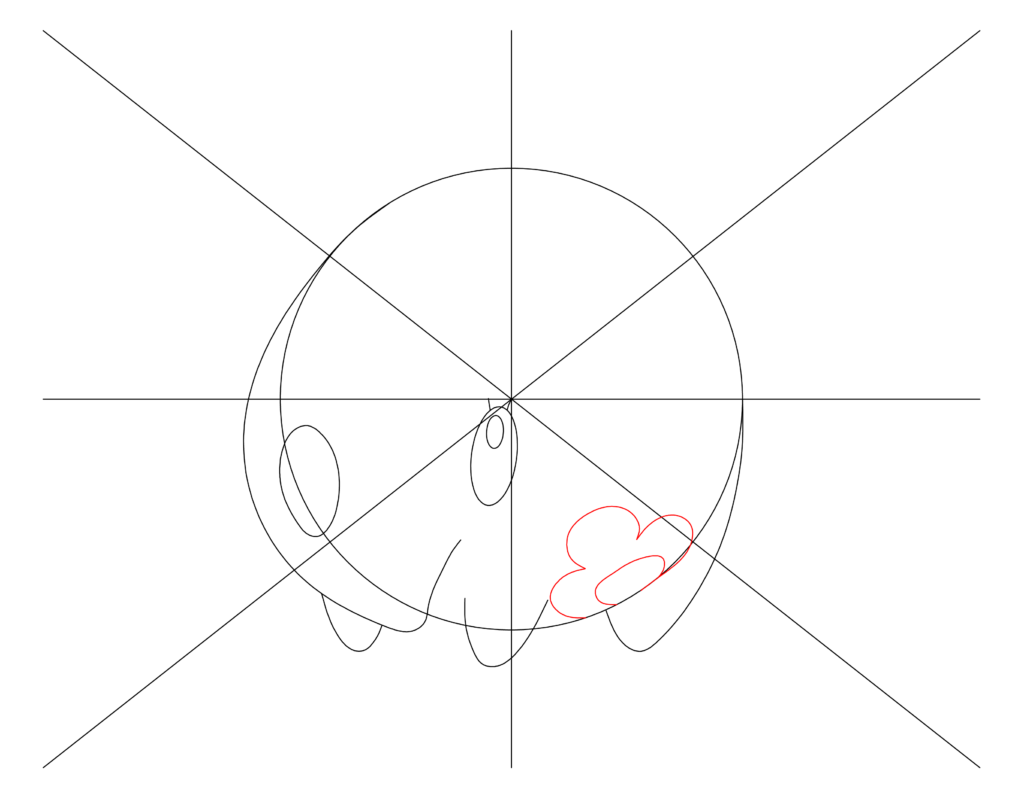
Now we can add in the first body flower. Use your drawing for reference. Use an oval in the middle and only three pedals of the flower can be seen.
Step 8
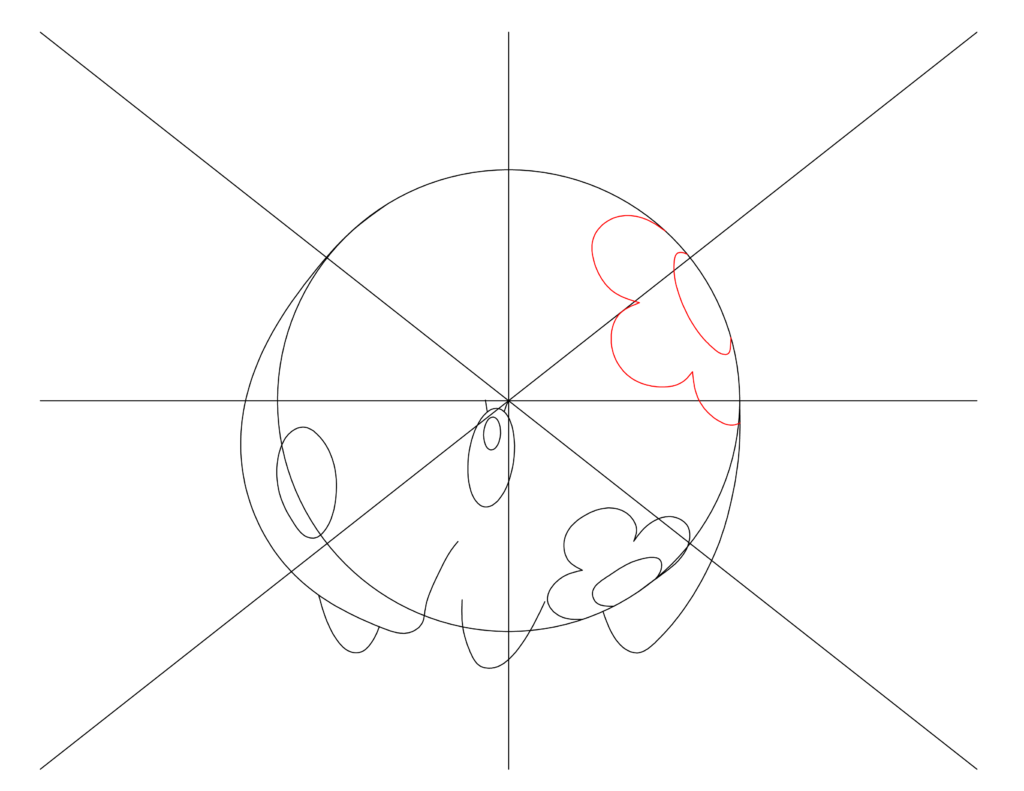
We are almost there! Now we just add in the last visible flower from this angle. Once again, show an oval for the center of the flower and three pedals.
Step 9
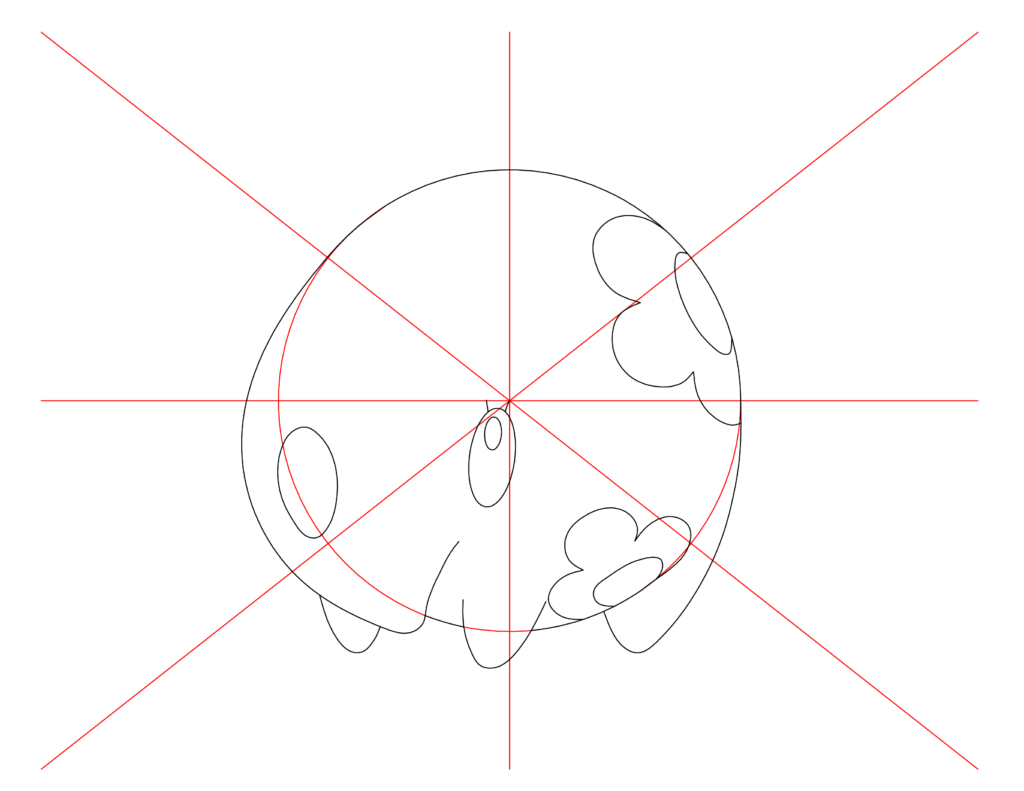
Finally, we can remove the unnecessary construction lines and the overlapping lines. Our drawing has the lines we are removing as red.
Step 10
Now we are done! We can now color away!


 Previous Post
 Next Post