How to draw Pokémon Cherrim in 10 steps
How to draw Pokémon Cherrim in 10 steps
What you will need
A pencil
Paper to draw on
Colored pencils
Starting our drawing
Step 1
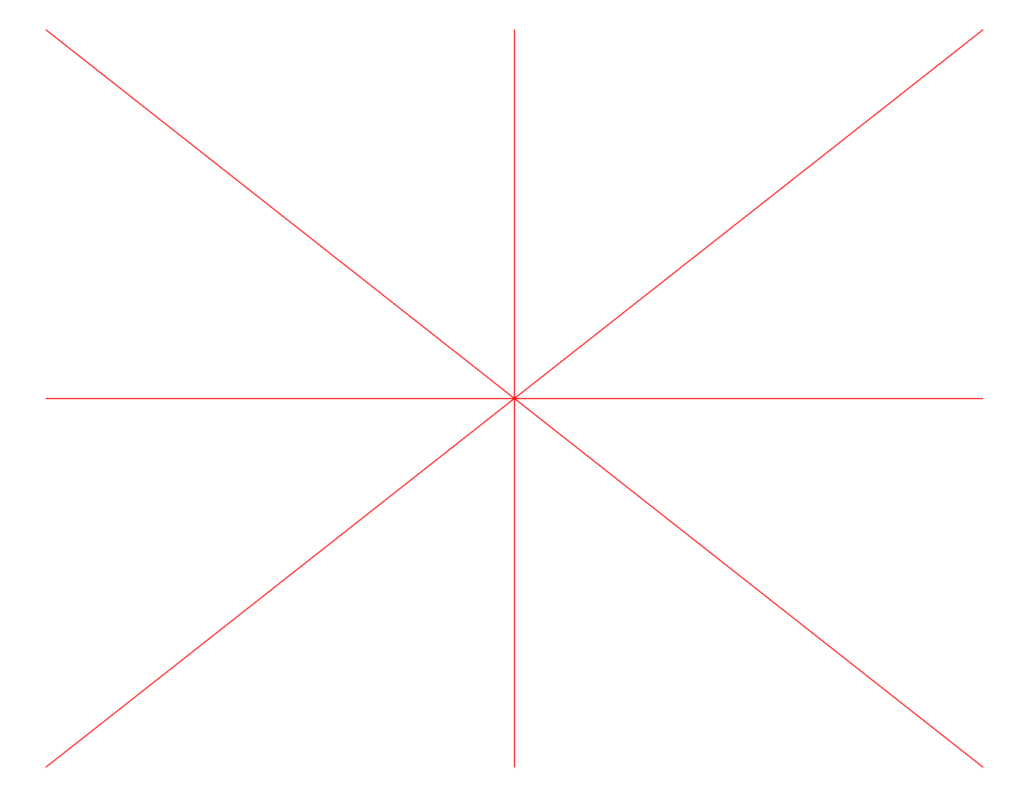
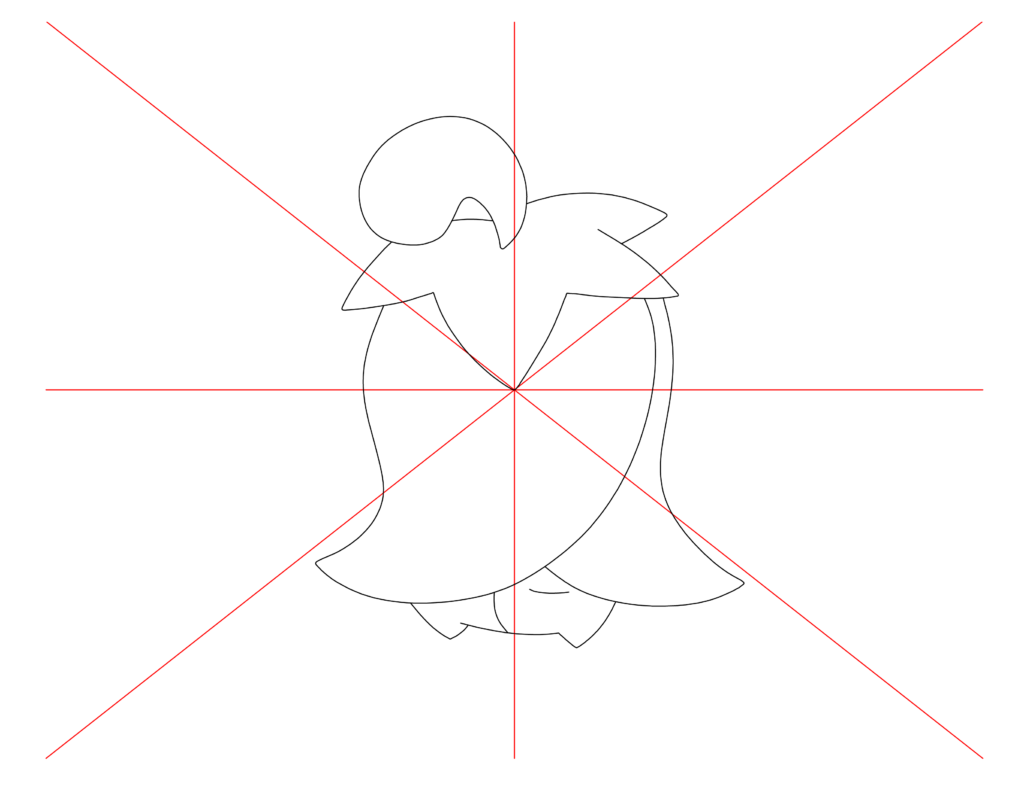
First thing first, draw four construction guidelines. One down the center of the page, one horizontal across the middle and two diagonal lines. We will be erasing this line later so don’t make it too dark. This line will help us to make sure our Cherrim is symmetrical.
Step 2
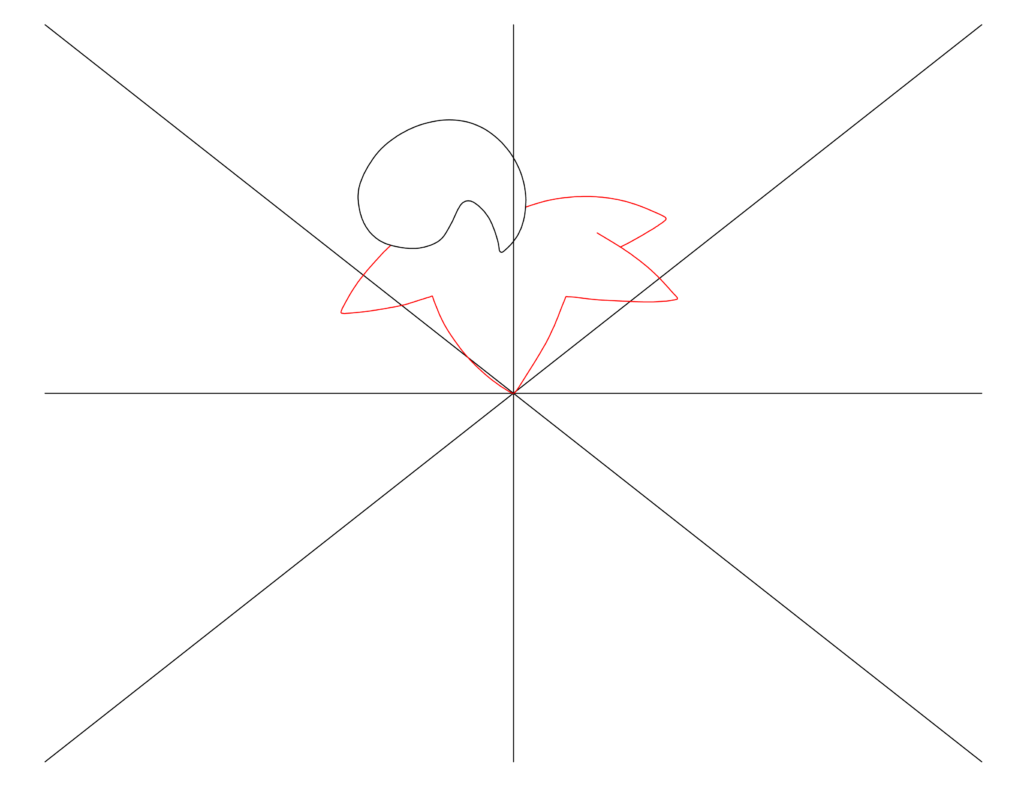
Next, let’s just start on the top of our Cherrim and work our way down. Let’s start with the stem at the very top. It is shown as a comma or teardrop shape. Use our drawing for reference.

Step 3
Now we will add in the leaves just under the step. Draw four leaves. The second and largest leaf will come to the center of the drawing where all our guidelines meet.
Step 4
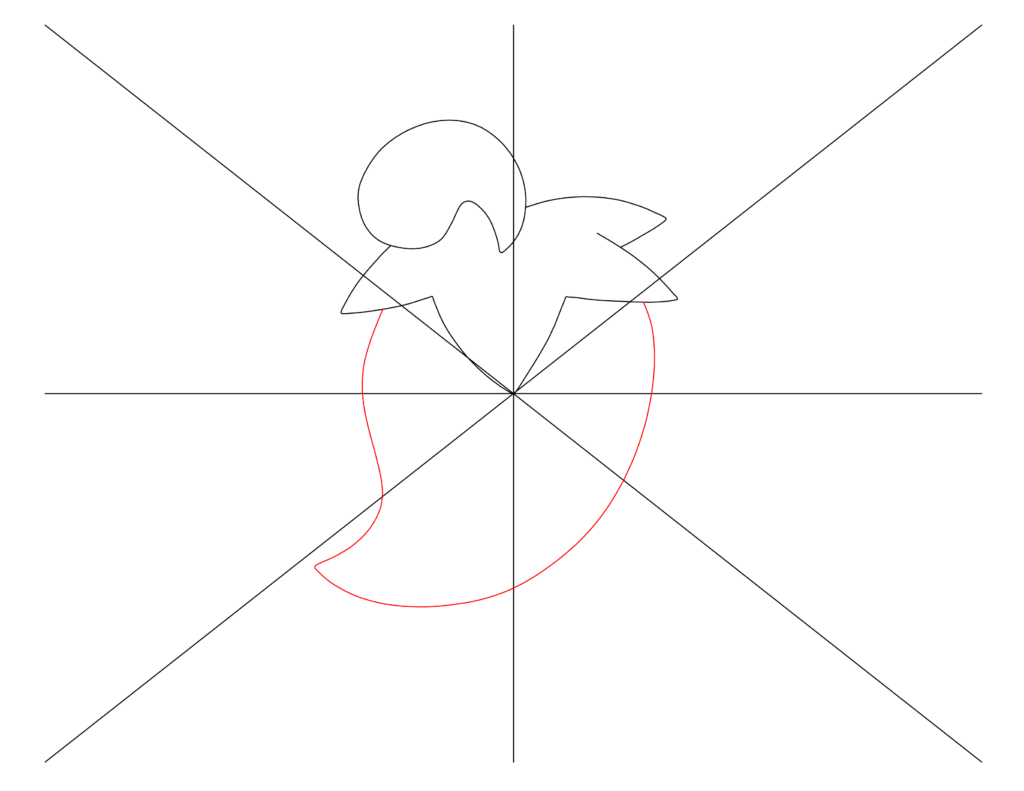
It is time to add in the first large pedal we can see covering Cherrim’s body. It is also a teardrop shape, but much larger than the step. Our drawing resembles a chili at this point. We aren’t done yet!
Step 5
Our next step is to add the second pedal that we can see in our drawing. Use our drawing for reference. The second pedal will be equal in length to the first pedal.

Step 6
Now we can add in the feet. There are two pointy feet at the bottom of the pedals. In this form, we will not be able to see most of the body of our Cherrim.

Step 7
The next step is to add the line that runs down the center of our Cherrim in this form. Draw a small curved line in the middle of the body from the bottom of the pedals to the bottom of the body.

Step 8
We are almost there! Last piece we have to add is the one closed eye we can see. Draw a line that is slightly curved upward on the body.

Step 9
Now our Cherrim is almost done! We can remove the unnecessary construction lines. There are no overlapping lines in our drawing that need to be removed.
Step 10
Now we are done with our Cherrim! We can now color away!


 Previous Post
 Next Post